
It’s not easy turning an idea into a tangible, profitable product.
Not every eCommerce store owner creates their own products. Some resell from other vendors or dropship items that are produced by other manufacturers.
But for some, there’s no separating the store from the unique product.
So what happens when it’s time to create a new product to sell? You have to prototype.
Prototyping new products can be an intimidating process, even if you’ve successfully done it before. And if you’re new to the process, there’s a big learning curve involved.
With that in mind, here’s a short overview for those that need to start prototyping.
What is Prototyping?
Prototyping is the process of refining a version of your idea until you find one that can be physically manufactured and sold.
There are several types of prototypes you can build.
1. Proof of Concept
The “proof of concept” is the earliest prototype of your product. Think of it as the “show-and-tell” version. It could be made out of the final materials, but more often than not it’s a representation of how your product will appear in the physical space. It can be shown to investors as a rough idea of how your product will work or what it will look like.
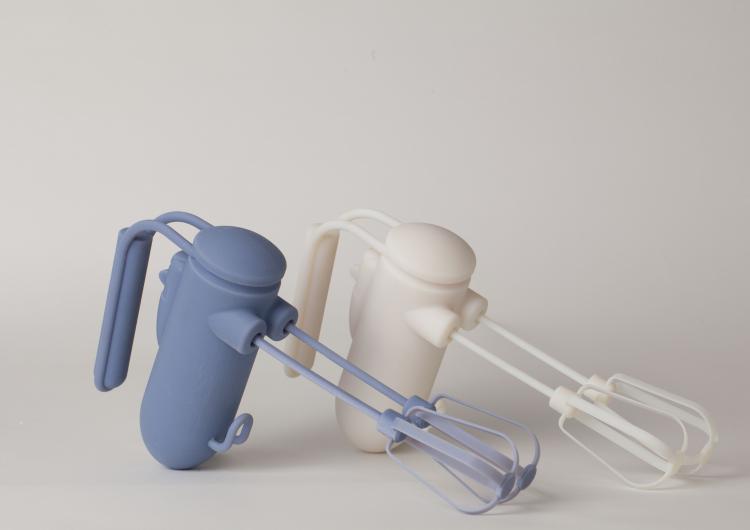
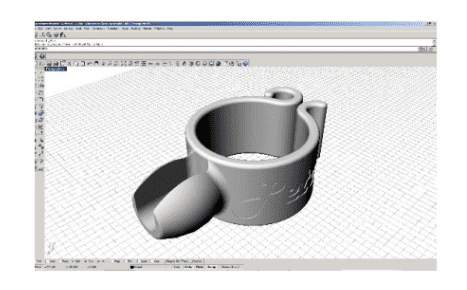
2. 3D Printing
3D printing is another way of showing a proof of the product. Because 3D printed prototypes can be easily changed and reprinted, it can save time in the development process, especially for products that require more tweaking in the early stages.
3. Designs for Demonstration
The next step above Proof of Concept, this prototype is a more realized version of the initial prototype. It might be made out of the final materials or otherwise work as the final product should. This is what you would show potential investors to get funding for production.
4. Functional Prototypes
A functional prototype is one that looks and acts as the final product, but is still undergoing fine-tuning. In other words, it’s not final yet, but it’s close.
5. Alpha and Beta Prototypes
Alpha and Beta prototypes are the (mostly) finalized products that are being tested by customers for market feedback. They’re one step short of being for sale on a website, but undergoing the final stages in the review process.
A product doesn’t necessarily have to go through every type of prototype, and might spend more time in one phase than another.
But the ultimate goal is to get from “idea” or a Proof of Concept to something ready to sell.
How Much Time Should Prototyping Take?
How fast can you realistically go from an idea to a prototyped product? That depends.
According to Michael Grothause from Fast Company, it can be done in 24 hours if the idea is simple enough.
He shares the story of Sally Dunne, founder of Pedal Petals, who came up with the idea to add clippable objects to bicycle handlebars while running errands one day.
Within 24 hours, she had prototyped her product using a a drafting tool and a 3D printer.
Is this reasonable for every product? Not necessarily, but, as Dunne demonstrated, it is possible.
The aim is to prototype as quickly as possible, solely for the reason of having a product design to tweak and review. But that process may take anywhere from 24 hours to several weeks or months.
The key is to start simple and build what you can as soon as you can. Click To TweetYou can always refine the product, change designs, add materials and move it through the prototyping process later on.
What Steps are Involved in the Prototyping Process?
So what’s actually involved in getting your first prototype built, even if you’re doing something simple?
Here are the basic steps to getting started.
Step 1: Research
The first step always begins with the idea itself, as well as some market research.
You want to research:
- What products like it exist on the market already (if applicable)
- Who is producing similar products
- What they charge
- Who your target market will be
- Challenges that your target market faces (that your product will solve)
- Whether or not your product is a viable (affordable, effective) solution
This research could be informal, like a Google search, or it could involve something like a new product market research survey.

The goal with this step is to define the problem your product will solve and find a market or a niche that would be willing to buy it.
Step 2: Design
Once you have a good idea about your potential market, it’s time to start designing the product prototype.
The very initial design might be just a list of features on a piece of paper, but you will most likely want to move to a more physical representation of your product at some point.
You can choose any of the prototype types (Proof of Concept, 3D printed, functional, etc.) that you feel works best for you to get a grasp on how the product will work, look and feel.
This step will vary depending on your access to materials or prototyping tools, whether or not you need a functional prototype for investors, or how much time you have.
But whatever the case, the goal is to have some representation of the product in your hands.
Step 3: Testing
Once you have a prototype ready, it’s time for market testing. (This is where having a more advanced prototype, like a functional prototype or even an alpha or beta prototype, might come in handy.)
The best way to market test your product is by peer or customer review.
This means either gathering a panel of users who can test the product in a live (and observable) setting, or by sending the prototypes to users who can test it out in everyday life and review it.
If you’re not sure how to go about the market testing process, check out Google Ventures’ prototyping/testing process called “The Design Sprint.” It shows you how to do prototyping and market testing (steps 2 and 3) in about a week’s time.
Step 4: Modification
Once you’ve market tested your product, you should have enough usable feedback to start making tweaks to the product itself.
You may need to make some major adjustments depending on the feedback, or it could be a few minor changes. Either way, it’s important to create a new prototype that incorporates the feedback you’ve received.
After modifications are made and a new prototype is built, you will most likely have to go back to step 3 and retest your new prototype until most or all of the kinks are ironed out.
Don’t worry too much about negative feedback at this stage, as you can change and modify your design as much as necessary.
Step 5: Production and Distribution
The last step in the process — once all changes have been made and the final prototype is tested and approved — is finding a way to produce and distribute the final product.
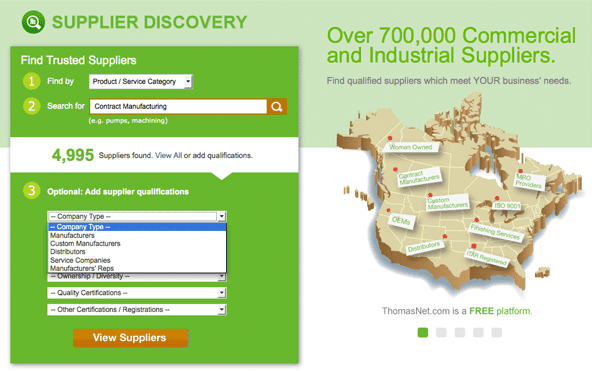
Finding a manufacturer to create your final product may take some time, as you want to ensure they can build it to the correct specifications and material requirements.
(SmallBizTrends has a list of resources for finding manufacturers here.)
Once your product is in production, you will need a way to distribute it to customers.
This will include your eCommerce website as well as any other marketing methods of your choosing, like email marketing, content marketing, and online advertising.
The goal is to get the word out about your product so that all the time you’ve spent in development can finally pay off.
Final Thoughts
Prototyping a product is a necessary step for many eCommerce store owners, but it’s not always an easy step.
The first step is to do your research. Make sure that there’s a market for your product and that it’s solving a real problem.
Next, build your prototype. There are several different ways you can do this, so make sure you find one that’s easy to produce but also gives you a chance to test it out with real customers, because the following step is testing.
After testing is done, you simply refine, refine, refine until all the kinks are worked out and you have a great product ready for launch.
Then, it’s all about marketing your product and waiting for the sales to come in.